Getting Started
This page describes what you can do once you have downloaded your starter project. You will be able to download your project after selecting modules and having configured them on the Goldstack website. Please see How Does It Work for more details.
1. Install dependencies
A few dependencies need to be available in your development system. Please verify they are present or install them.
- Node v20+
- Yarn v1.22.5+
- Docker v20+
- Terraform CLI
- AWS CLI v2
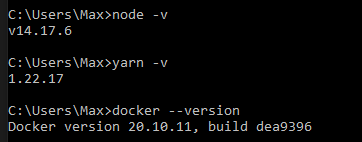
Open a terminal and run the following commands:
node -v
yarn -v
docker --version
This should produce the following output:
If you need to install or update any of the dependencies, please see the following guides:
2. Extract and install
Extract the contents of the zip file into a folder of your choice.
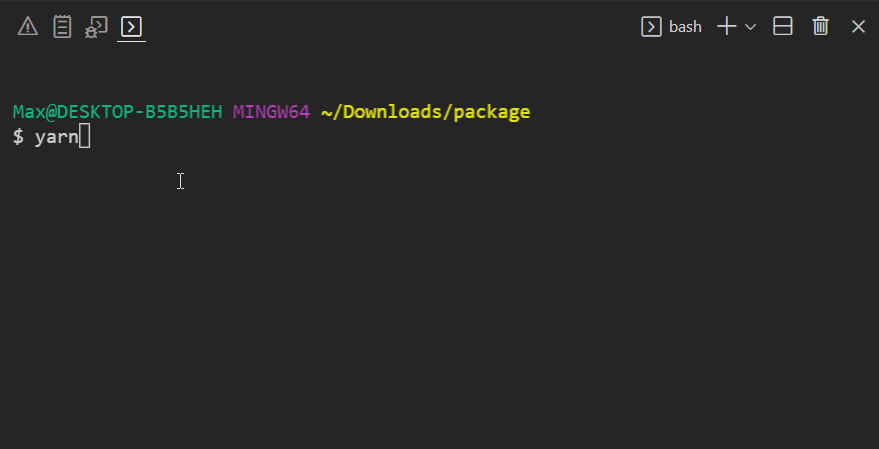
Run yarn in your project directory to install and download all dependencies.
The installation process should take around 3-10 minutes depending on the dependencies that need to be downloaded.
You can confirm everything was installed correctly by running yarn -v. This should show a yarn version of 3.0.0+.

3. Build modules
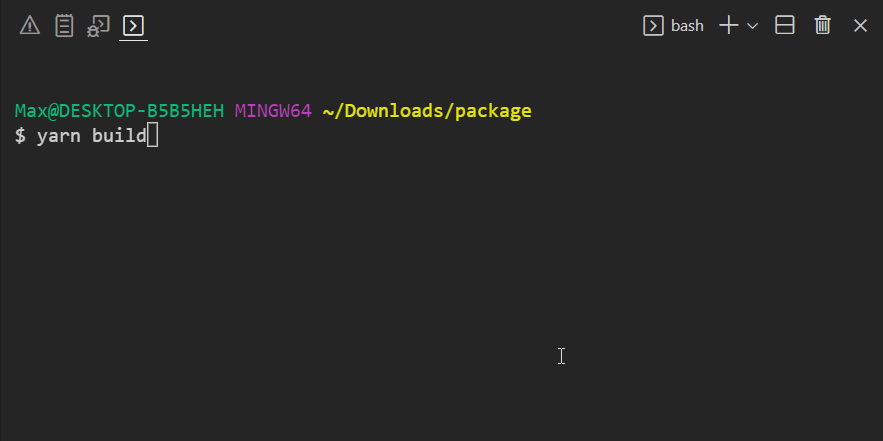
Make sure that the project compiles correctly by running yarn build your project directory:
Note that this command also ensures that all TypeScript project references are configured correctly.
4. Configure VSCode
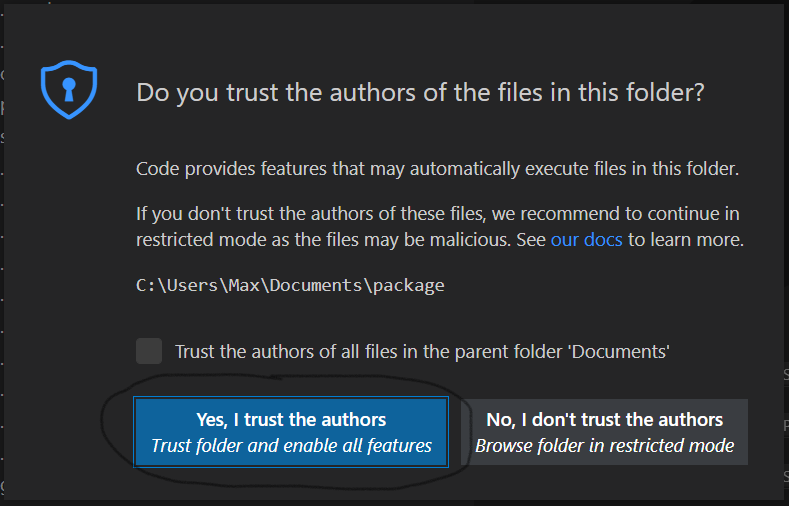
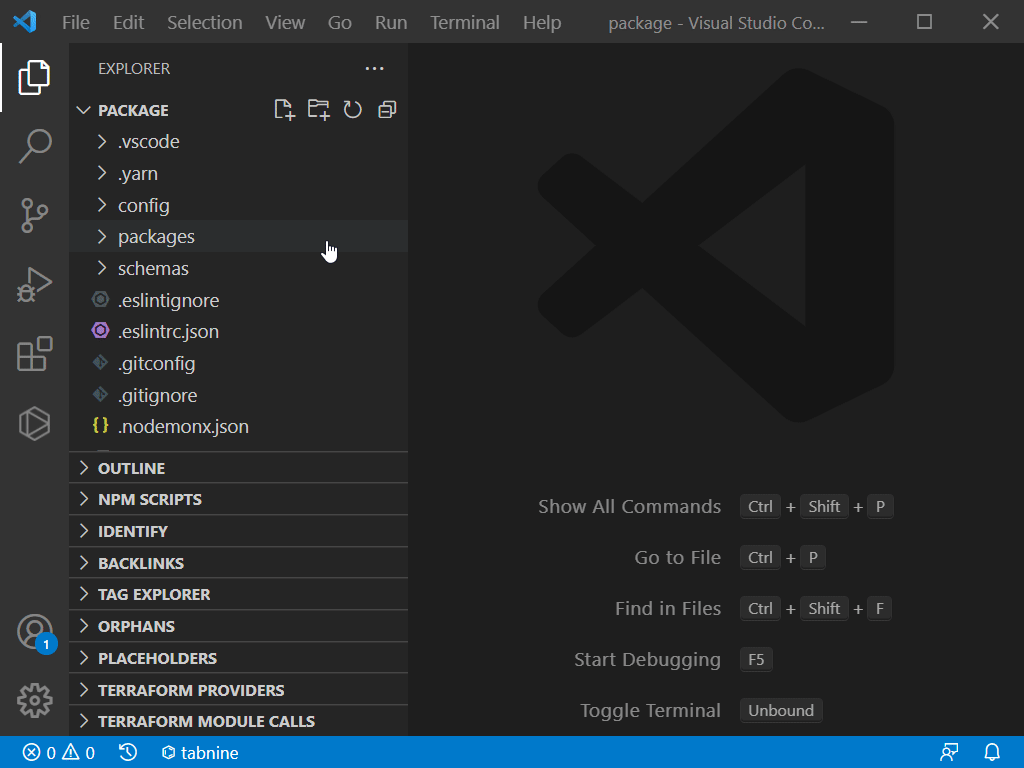
In order to setup VSCode, open the project in VSCode.
VSCode may prompt you to ask if you trust the authors of the workspace. Respond with Yes.
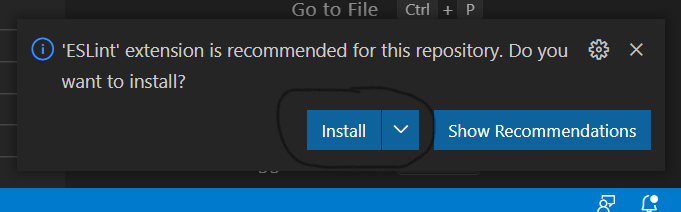
You may also be asked if you want to install recommended extensions for this workspace. We recommend to do so since the template will be optimised to work with the suggested extensions.
If you want to install the necessary extensions manually, here are links to the extensions required:
5. Initialise TypeScript
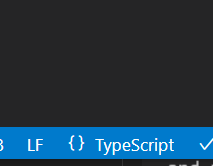
Locate a .ts or .tsx file in the workspace and open it. When asked whether to use the workspace TypeScript version, click Allow.
In the status bar on the bottom right-hand corner of the VSCode editor you should now see TypeScript.
6. Deploy modules (Optional)
If you have configured your project for AWS deployment on Goldstack before downloading the project, all modules should be ready to be deployed to AWS. We recommend going through each of your modules individually to ensure the infrastructure for them can be deployed successfully. Please see the getting started guides for the templates you have chosen for instructions. You should have received an email that contains links to the relevant getting started guides.
7. Develop
Each module you have selected comes with its own instructions about how to get started with development. However, there are some handy commands in the project root that can be useful for development:
yarn build: Will build all modules in the project.yarn compile: Will compile all TypeScript code.yarn fix-project-references: Will ensure all TypeScript project references between the packages in the project are correct. Always run this after adding a new package or changing the dependencies between packages in the project.yarn test-watch: Will run tests when modules have changed.yarn format-checkandyarn format: Will check or fix source code formatting using Prettieryarn lintandyarn lint-fix: Will check or auto-fix linting issues using ESLint.yarn checkandyarn check-fix: Will check and auto-fix import order, linting and formatting issues
Note that you can run all of these commands in the context of individual modules as well. If you only modify code within one module, this is sufficient. However, if you develop multiple modules at the same time, it is important to run these commands at the project root.